How to Clean a Fan Without Taking It Apart: A Simple and Safer Method
How to Keep the Area Around the Fan Cleaner
Reducing surrounding dust can slow how quickly the fan becomes dirty.
Vacuum or sweep nearby floors regularly, clean dusty shelves, wash pet bedding, replace HVAC filters according to system guidance, and keep nearby surfaces free of thick dust.
Every particle you remove from the room is one less particle available to collect on the fan.
Keep the Fan Off the Floor When Practical
Fans positioned directly on dusty floors may collect more hair and debris around their lower openings.
If the design allows, placing the fan on a stable, appropriate surface can sometimes reduce exposure to floor-level debris.
Never place it somewhere unstable or where it could fall.
Avoid Storing the Fan Dirty
Before storing a seasonal fan, clean and dry it.
Dust left on the blades for months can become more difficult to remove later, particularly in humid conditions.
Store It in a Dry Place
Keep the fan in a dry area protected from excessive dust and moisture.
If you cover it, use a storage method that does not trap moisture inside the appliance.
Inspect It Before Using It Again
After long storage, check the cord, plug, grille, base, and visible moving parts before reconnecting the fan.
Make sure there are no insects, debris, damaged wires, or signs of moisture.
Common Mistake: Spraying Cleaner Directly Into the Fan
This is one of the easiest ways to send liquid toward the motor and electrical components.
Apply cleaner to the cloth instead.
Common Mistake: Using Too Much Soap
Excess detergent can leave sticky residue that attracts more dust.
A few drops in water are usually enough for routine cleaning.
Common Mistake: Trying to Reach Everything
If the fan design prevents safe access, stop.
No-disassembly cleaning has limitations, and recognizing those limits is part of cleaning safely.
Common Mistake: Reconnecting Too Soon
Allow all damp surfaces to dry fully before restoring power.
Common Mistake: Covering the Fan While Running
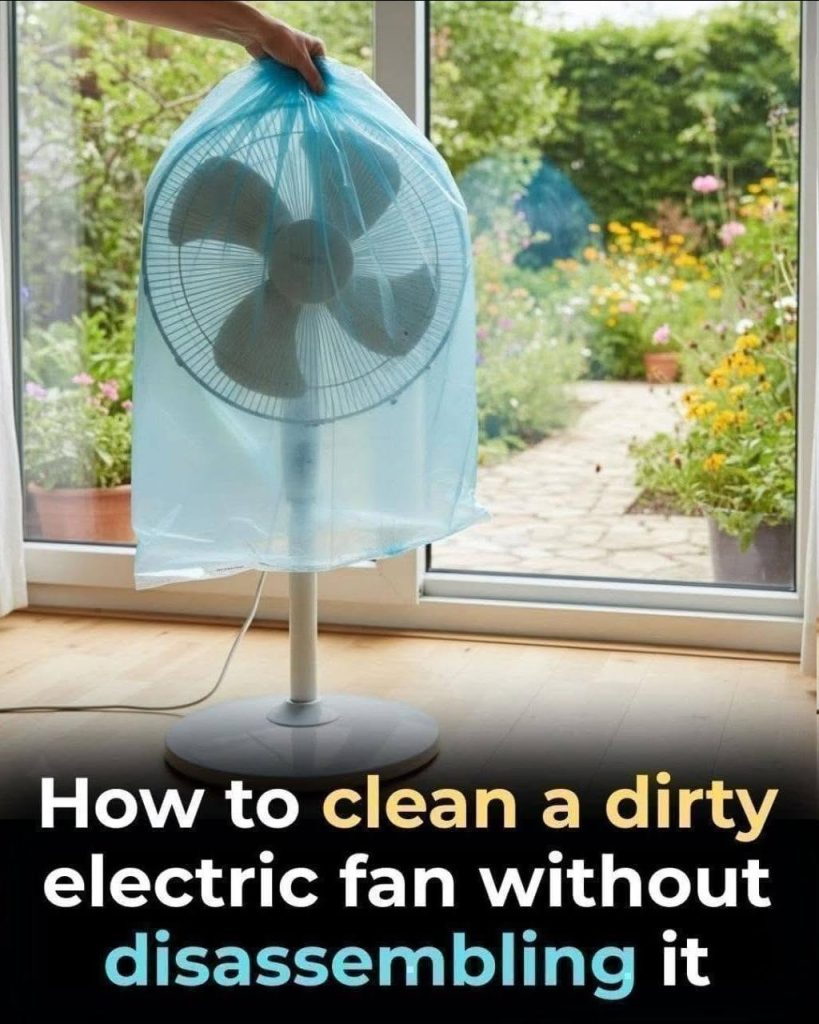
Do not use plastic bags, towels, sheets, or other materials around an operating fan.
Fans need clear airflow and unobstructed moving parts.
Common Mistake: Using Harsh Chemicals
Bleach, aggressive solvents, abrasive powders, and unknown chemical mixtures are usually unnecessary.
A dry brush, vacuum, microfiber cloth, and a small amount of mild soap can handle most routine cleaning.
A Simple Safe Cleaning Checklist
- Turn off and unplug the fan.
- Vacuum or brush away loose dust first.
- Wipe exterior surfaces with a dry microfiber cloth.
- Use a barely damp soapy cloth only where appropriate.
- Keep liquid away from the motor, vents, switches, and wiring.
- Use only blunt tools through the grille if access is safe.
- Never clean moving blades.
- Never cover a running fan with a bag.
- Allow the appliance to dry completely before reconnecting it.
- Stop using the fan if you notice overheating, electrical smells, sparks, or damaged wiring.
Final Thoughts
You do not always need to dismantle a fan to make a noticeable improvement in its cleanliness.
For light and moderate buildup, careful vacuuming, brushing, microfiber wiping, and a small amount of mild soapy water on appropriate exterior surfaces can remove a surprising amount of dust and grime.
The most important part of the process is restraint. Do not flood the grille, spray liquids toward the motor, force tools through narrow openings, or run the fan while it is wet or covered.
If dirt is too deep to reach safely, proper disassembly according to the manufacturer’s instructions is a better option than attempting an aggressive shortcut.
Once the fan is clean, a quick dry dusting every week or two can keep buildup under control and make the next cleaning much easier.
A cleaner fan starts with a simple rule: remove the dust you can reach safely, protect the electrical parts, and never sacrifice safety just to reach one last dirty spot.
